Table of Contents
iBook G4 12" Wifi card
The driver for the Wifi card can be installed with the Debian firmware-b43-installer package.
Emulate Right mouse button
Keyboard 3rd Level Selector
In order to enable the AltGr equivalent on an Apple keyboard, you need to modify the Keyboard Preferences: → →
In the Keyboard Preferences dialog, you choose the "Windows key" as third-level chooser for the keyboard layouts that are concerned: → → →
Then the Apple Command key ⌘ behaves like an Alt Gr key
Important
The following tips have been used on an XT1022 (dual SIM) model.
Developer options
Enable Developer options screen: → and tap 7 times .
USB Debugging
Enable USB Debugging on the device: → →
Special boot modes
Power off, then press Power & Volume Down simultaneously. On the next screen use Volume Down to scroll and Volume Up to select.
ClockworkMod Recovery
Use Volume Up and Volume Down to scroll and Power to select.
Note
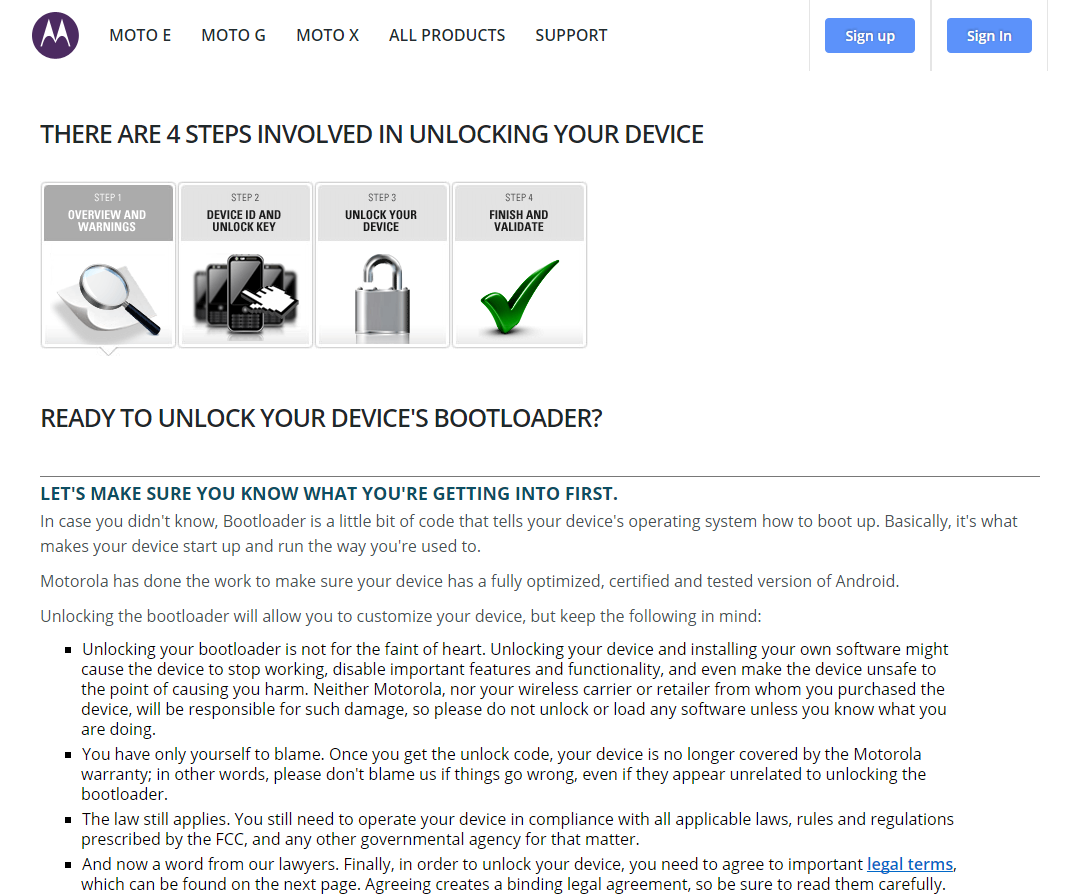
Unlocking the bootloader on a Motorola device will automatically wipe all device data.
-
Make sure your computer has working fastboot and adb .
-
Enable USB debugging on the device.
-
Reboot the device into fastboot mode.
-
Connect the device to the computer through USB.
-
Once the device is in fastboot mode, verify your PC sees the device by typing (as root)
fastbootdevices -
From the same terminal, type the following command to obtain your bootloader unlock code:
fastbootoemget_unlock_data[...](bootloader)XXXXXXXXXXXXXXXXXXXXXXXXXXXXXXX(bootloader)XXXXXXXXXXXXXXXXXXXXXXXXXXXXXXX(bootloader)XXXXXXXXXXXXXXXXXXXXXXXXXXXXXXX(bootloader)XXXXXXXXXXXXXXXXXXXXXXXXXXXXXXX(bootloader)XXXXXXXOKAY [ 0.254s] finished. total time: 0.254s -
Visit the Unlocking the Bootloader website and follow the instructions there to obtain your unlock key.
-
From the same terminal, type the following command to unlock your device:
fastbootoemunlockXXXXXXXXXXXXXXXXXXXX[...](bootloader) Unlock code =XXXXXXXXXXXXXXXXXXXX(bootloader) Unlock completed! Wait to reboot FAILED (status read failed (No such device)) finished. total time: 24.335s -
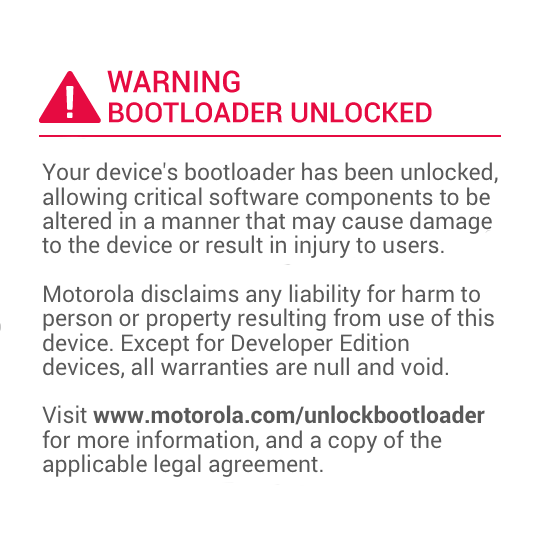
If the device doesn't automatically reboot, reboot it from the menu. It should now be unlocked.
-
Make sure your computer has working fastboot and adb .
-
Download recovery: visit [RECOVERY][Condor] CWM 6.0.4.9 .
-
Enable USB debugging on the device.
-
Reboot the device into fastboot mode.
-
Connect the device to the computer through USB.
-
Once the device is in fastboot mode, verify your PC sees the device by typing (as root)
fastbootdevices -
Flash recovery onto your device by entering the following command:
fastboot.flashrecoveryrecovery.img -
Once the flash completes successfully, Reboot the device into fastboot mode, then select to verify the installation.
-
Make sure your computer has working adb .
-
Download the CyanogenMod package: CyanogenMod Builds for Moto E .
-
Boot to recovery mode, and connect the phone to your computer through USB.
-
Optional (Recommended): Select to create a backup of your current ROM.
-
Select .
-
Select → to copy the installation package to your device.
-
Go back to the main menu and select . Choose to install from the same directory where you pushed the package(s). If you are installing multiple packages, install CyanogenMod first and then install any subsequent packages on top of it.
-
Once installation has finished, return to the main menu and select . The device will now boot into CyanogenMod.
public key is not available
Manually import the missing key:
-
gpg--keyserverpgpkeys.mit.edupostinstall--recv-keyPUBKEY -
gpg-a--exportPUBKEY| sudo apt-keyadd-
List selected packages
								dpkg
								--get-selections
Get a Classic Desktop in Ubuntu 14.04 with GNOME Flashback Session
http://www.omgubuntu.co.uk/2014/04/ubuntu-14-04-classic-gnome-flashback-session
							apt
							install
							gnome-session-flashback
Re-disabling your root account
https://help.ubuntu.com/community/RootSudo#Re-disabling_your_root_account
							sudo passwd
							--delete
							--lock
							root
Yunohost on Raspbian postinstall
Error: Unable to reload the
							firewall
https://forum.yunohost.org/t/resolu-erreur-durant-la-post-install/2070/4
Update the Raspberry Pi firmware.
Yunohost on Raspbian postinstal with an existing *.nohost.me sub-domain
-
Manually perform the post-install with the
--ignore-dyndnsoption:
sudo yunohosttoolspostinstall--ignore-dyndns -
Copy the
/etc/yunohost/dyndnsdirectory for the existing*.nohost.mesub-domain. -
Update the DynDNS record:
sudo yunohostdyndnsupdate
Roundcube does not creates the default mail folders
In
/var/www/roundcube/config/defaults.inc.php
configuration file, enable the automatic creation of default
folders:
$config['create_default_folders']
							= true;
Network Time
If you want your system clock to be synchronised with Network Time, you need to install NTP (Network Time Protocol) and modify the Date & Time Preferences: → →
In the Date & Time Preferences dialog, you activate the network time: →
Server installation
Install the MySQL server ( mysql-server package), then the ocsinventory-server , ocsinventory-reports , fusioninventory-agent packages.
Clients installation
Install the fusioninventory-agent package.
Tip
You should take care of using compatible versions on all the systems between which you want to share the mouse and keyboard.
Disable Process Hacker update checker
The update checker of Process Hacker is enabled by default and
cannot be disabled from the user interface. You need to edit the
file:
								[...]
								/PortableApps/ProcessHackerPortable/Data/ProcessHacker.exe.settings.xml
<setting name="ProcessHacker.Updater.PromptStart">0</setting>
Table 2.1. OpenJDK availability in Debian
| Debian | 7 "Wheezy" | 8 "Jessie" | 9 "Stretch" | 10 "Buster" |
| OpenJDK 6 | x | |||
| OpenJDK 7 | x | x | ||
| OpenJDK 8 | x | x | ||
| OpenJDK 9 | x |
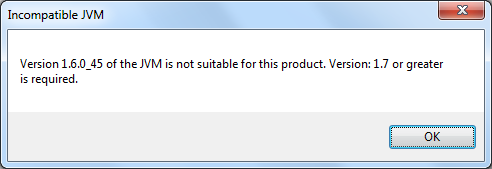
Specific JRE
If you want to use a specific JRE to run your Eclipse environment,
you shall set the
-vm
option in
eclipse.ini
file
[...]-vmC:/Path/to/Java/bin[...]
Show workspace path in window title
If you want to show the path to the current workspace you are
working in, you shall set the
-showlocation
option in
eclipse.ini
file
[...]-showlocation[...]
Convert Eclipse project type from General to Java
Edit the project's
.project
file and set the following nature
:
<natures>
	<nature>org.eclipse.jdt.core.javanature</nature>
</natures>
TCP/IP Monitor
This Eclipse tool can be easily used as a proxy to spy a communication between a client and a server. The fastest way to do so is to only change the server listening post, and make the TCP/IP Monitor forward the clients requests between the original port and the new one. For example, if your server was originally listening on port 80, change this to port 90 and make the TCP/IP Monitor listen to port 80 and forward requests to localhost:90.
Tomcat debug in Eclipse
In order to make it possible to debug an application running in Tomcat, you must install the Core 32-bit/64-bit Windows Service Installer package. The Core zip package can not be debugged in Eclipse.
Tomcat 7 server
There is a bug in recent Eclipse versions which prevents from creating a new Tomcat 7 server. To make it possible to create a Tomcat 7 server, when eclipse is not running, in your workspace directory, remove the following files:
-
.metadata/.plugins/org.eclipse.core.runtime/.settings/org.eclipse.wst.server.core.prefs -
.metadata/.plugins/org.eclipse.core.runtime/.settings/org.eclipse.jst.server.tomcat.core.prefs
ShellEd
ShellEd is a Unix/Linux shell script editor for Eclipse. It is now part of the DLTK project .
For a manual installation you will also need to get dependencies from the Linux Tools project and the CDT project .
SVN password always asked
If Eclipse always asks for SVN password:
-
stop Eclipse,
-
delete file
[ECLIPSE]/configuration/org.eclipse.core.runtime/.keyring, -
delete file
[USER_HOME]/.eclipse/org.eclipse.equinox.security/secure_storage, -
restart Eclipse.
Marketplace does not work with proxy
If the Marketplace does not work properly with your proxy, try to
add the following directive at the end of your
eclipse.ini
file:
[...]
-Dorg.eclipse.ecf.provider.filetransfer.excludeContributors=org.eclipse.ecf.provider.filetransfer.httpclient4
Do not open office document in Eclipse
In → → → uncheck .
Local Tasks repository
By default, the local tasks are stored in
								workspace
								/.metadata/.mylyn/
Java dependency
CDT only works with recent version of Java: for example, CDT 8.6 only works with Java ≥ 1.7
 |
MinGW dependency
It will be a lot easier for a newcomer to install MinGW before installing CDT and starting a new C/C++ project: by doing so, MinGW libraries will be automatically detected in CDT.
Static binary
When learning C/C++, it will be easier for the newcomer to
produce a binary with statically linked libraries. To do so, you
must add the
-static
flag in → → → → → → →
Empty Eclipse Console
When running your binary, if you see nothing in the Eclipse Console, you shall add the MinGW bin directory to the path of your binary.
create a New Environment Variable from → → → → → → with
- Name:
-
PATH
- Value:
-
C:\MinGW\bin
This is not strictly Docbook related, but this can be very usefull to use this kind of icons in this context.
SVG XML can be directly integrated in Docbook XML, you can put an
<svg>
element directly inside an
<imageobject>
[1] element.
If you want to integrate a dedicated TTF font inside an SVG image which is included in a Docbook document, you have to proceed through the following two steps.
-
Make the TTF font accessible to the original SVG image. For example, you can use the following CSS configuration [2] :
<style type="text/css"> @font-face { font-family: 'Font Name'; font-style:style; font-weight:weight; src: url('path/to/font-file.ttf'); } </style>This will ensure that, when viewing the SVG image, the SVG viewer will find the TTF file.
-
Make the TTF font accessible to the published document. For example, you can add the following FOP configuration [3] :
<fop> <renderers> <renderer mime="application/pdf"> <fonts> <font embed-url="
path/to/font-file.ttf"> <font-triplet name="Font Name" style="style" weight="weight" /> </font> </fonts> </renderer> </renderers> </fop>This will ensure that, when processing the Docbook document, the Docbook processor will find the TTF file.
The purpose of this hack is to include a resume at the end of a docbook.
The easiest way to do this is by manipulating the
*.fo
files of both documents (docbook, resume).
-
Insert the
fo:page-sequencefrom the resume to the docbookfo:root. -
Insert the
fo:layout-master-setchilds from the resume to the docbookfo:layout-master-set. Take care to only include the page masters that do not already exists (Themaster-nameattribute is a unique ID)!
Use this tool to publish Docbook documents, instead of Ant xslt task.
Windows portable installation
If you want to install Xsltproc as a portable program under windows, you should merge the bin directories of the following libraries:
| libxslt |
| libxml |
| iconv |
| zlib |
The Windows port is maintained here: http://www.zlatkovic.com/libxml.en.html